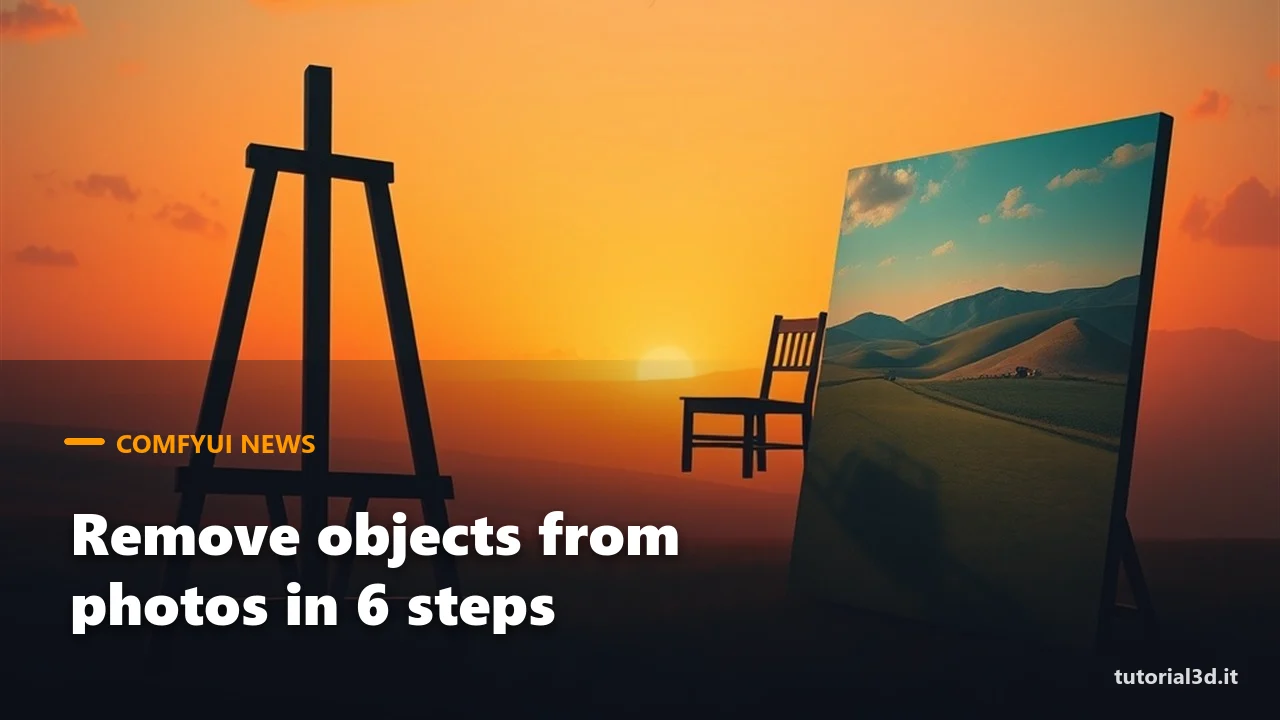
Removing a person, a cable or a sign from a photo is something anyone working with images does all the time, and it is frustrating when the retouch leaves a smudge or the AI invents half a scene. That is why a piece of news reported by ComfyUI Wiki on November 10 caught our eye: a LoRA (a small file that adds a specialty to a model) to remove objects from a photo in ComfyUI in just 6 steps.
It comes from PrunaAI and is built on Qwen-Image 2.1, which we already covered when we looked at how to train Qwen-Image 2.1 LoRAs on 12 GB. One thing up front: we have not tried this LoRA on our own PC yet, so here you only get what the official pages state, with doubts flagged where they exist.
| What it is | P-Q-Image-2.1-Remove-Object: a LoRA (rank 32) that erases a marked object and rebuilds the background, shadow and reflection |
| Who made it | PrunaAI, on top of Qwen-Image 2.1 (7 billion parameters) |
| Video memory required | not stated |
| Does it run on an RTX 3060 12 GB? | not stated: the files are int8, but there is no official test on 12 GB |
| License | Qwen Research License (a research license) |
| Commercial use from the EU | unclear: the page does not say, so read the license text before using it for paid work |
| Where to download | Hugging Face, repo P-Q-Image-2.1-Remove-Object-Comfy |
| Free or paid | weights are free to download |
How does object removal with the Pruna LoRA work?
You mark the object to remove with a mask (the painted area, in white, that tells the model where to act) and write a short instruction, for example “Remove the man on the left”. A custom node from Pruna, Precise Removal Outline, draws a red outline around the mask and adds the sentence used in training. The model fills the gap with a plausible background, shadows and reflections included, and leaves the rest of the photo untouched.
The recommended settings are simple: 6 steps, no CFG (the prompt-adherence setting that usually slows models down), LoRA strength at 0.7 and a fixed seed. There is also an 8-step version and a slower 40-step base version, meant to avoid the “drift” of the fast versions.
How much video memory do you need, and does it run on a 12 GB card?
We don't know for sure, and we won't make it up: neither the model card nor the tutorial states the VRAM (the memory of your graphics card) required. What we do know is what to download: the Qwen-Image 2.1 model in int8 (8-bit numbers, lighter), two text encoders (the components that understand the text) and the VAE (which converts the image). The prompt-expansion encoder stays off in the workflows, but ComfyUI still wants to find the file.
If you have a card like our RTX 3060 12 GB, the honest advice is to try the 6-step workflow on a small photo before trusting it. If you are thinking of buying one, our guide to graphics cards for AI explains what to choose.
How do you use it in ComfyUI?
Here is the path; if you are not yet used to nodes, go over our beginner's guide to ComfyUI first.
- Update ComfyUI to a version with native Qwen-Image 2.1 support.
- Download the model, encoders and VAE from the Comfy-Org repack and put the two LoRAs (the removal one and the distillation one) in the
models/lorasfolder. - Copy the
precise_removal_outlinefolder intocustom_nodes, install the requirements (opencv) in ComfyUI's Python environment and restart. - Open the 6-step workflow from the repo: it loads with an example photo and the mask already painted.
- For your own photo: right-click Load Image, “Open in MaskEditor”, paint the object, write the instruction and press Run.
What limits should you know about?
The official page is honest and worth reading before you work: the mask can also erase nearby things you wanted to keep, especially where objects overlap; the rebuilt area can look smoother or blurrier than the rest, or show a faint grid; with heavily covered backgrounds the result is plausible, not faithful to reality. The LoRA can also only remove: it was not trained to add or replace objects and does no better than the base model there.
Can you use it for work?
Be careful here. Both Qwen-Image 2.1 and Pruna's LoRA fall under the Qwen Research License, a research license, and the distillation LoRA has its own terms. The pages do not explain whether commercial use is allowed, so for a client or a monetized channel we would not take it for granted: read the LICENSE file and, if in doubt, ask. For personal retouching there are no obvious problems.
Try this first
Take a photo with an object that is easy to isolate (a chair in the middle of a lawn, a sign on a plain wall) and run three tests: strength 0.7 as recommended, then 0.5 and 0.9, always with the same seed. Save the results and compare them zoomed in: you will quickly see where the overly smooth areas come from. If the scene is complex, remember that our article on free generative fill in GIMP with OpenFill and ComfyUI offers a ready-made alternative.
Other news
- ComfyUI 0.45.0 and text generation: on November 11 Comfy Org explained that with Qwen3.x models text is generated up to twice as fast. On the RTX 5090 Qwen3.5 9B goes from 106 to 219 tokens per second, on the RTX 5080 from 91 to 129. The mtp option is already on “auto”. Source: ComfyUI blog.
- Seven control LoRAs for MOSS-Image: since November 10 the author thedeoxen offers canny, depth, pose, normal, lineart, scribble and segmentation for MOSS-Image-SFT, under the Apache-2.0 license. Source: Hugging Face.
- Goodbye to DirectML in ComfyUI: support was removed on November 12, because the last PyTorch version with the plugin was 2.5. It affects anyone who used
--directmlwith AMD or Intel cards on Windows. Source: pull request 17711.
Frequently asked questions
Do you need a mask to remove an object?
For the most precise results, yes: you paint it in MaskEditor or load it as a file. The page says you can also just describe the object in words, but the red outline makes the removal more controlled.
Can the LoRA add or change objects?
No. It was trained for removal only: for adding or replacing, the results are no better than the starting Qwen-Image 2.1 model.
Which version should I pick, 6 or 8 steps?
Pruna lists the 6-step one as the default. The 8-step is an alternative, while the 40-step base version is the slowest but avoids the drift of the distilled (that is, sped-up) versions.
Where can I find other image models?
In our guide to AI image models in ComfyUI we compare them, with the requirements for cards like ours.
If you want the free workflows and step-by-step tests, you will find them in the ComfyUI section of the site, or follow us on the YouTube channel @tutorial3d.