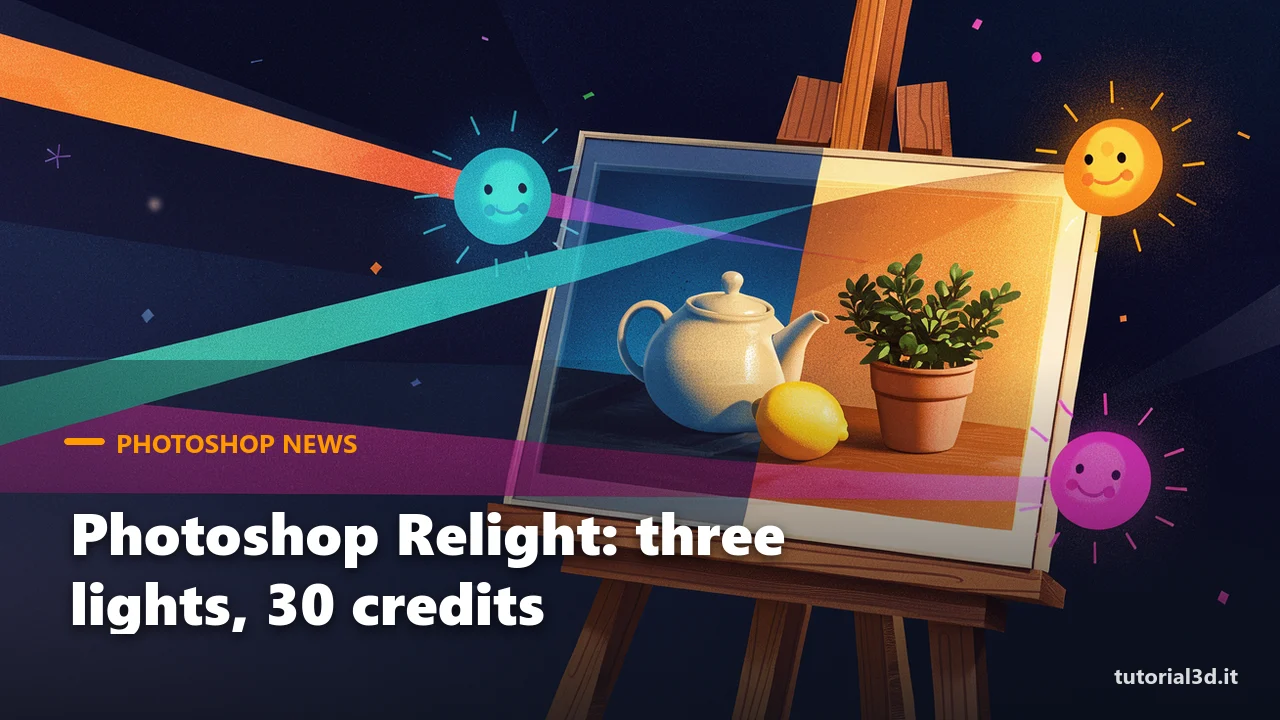
Photoshop Relight is the Photoshop feature everyone will be talking about after Adobe MAX: on November 10 Adobe presented it in version 28.0, together with Generative Restyle and Quick Compare (official Adobe announcement). The idea is easy to explain and hard to do well: you open a photo you've already shot, add up to three virtual lights, move them around, change their color and softness, and Photoshop rebuilds the lighting of the scene.
Here's how we see it. Anyone who has made a composite or a retouch for a client knows the problem: the subject is perfect, but the light comes from the wrong side, and reshooting isn't an option. Until now it meant brushes, masks and blend modes, and the result depended a lot on your hand. Relight promises to do it in a few seconds, but every attempt has a cost, and it's worth being honest about that. We almost always work locally with ComfyUI, so here you'll find what Relight really does, how many credits it costs and which free alternatives exist for those who prefer their own PC.
Quick facts
| What it is | Relight: a generative Photoshop feature that adds up to three adjustable virtual lights to a photo, on a separate layer |
| Who made it | Adobe (Adobe Research), born from the experimental "LightTouch" project shown at Adobe MAX 2025 |
| Video memory required | Not stated: it uses generative credits, so the heavy computing doesn't depend on your graphics card |
| Does it run on an RTX 3060 12 GB? | Yes, if the PC runs Photoshop; no special card is needed |
| License | Included in the Creative Cloud subscription with Photoshop |
| Commercial use from Italy | Yes, under the terms of the Adobe subscription |
| Where to try it | Photoshop desktop 28.0: Layer > New Relight layer |
| Free or paid | Paid: 30 generative credits every time you confirm the result |
What is Photoshop Relight and how does it work?
Photoshop Relight is a special layer that changes the light of a photo without touching the original pixels. You create it from Layer > New Relight layer (or from the Layers panel menu): Photoshop hides the starting image and builds a new layer on top where you can place up to three lights, adjusting the position, intensity, color and diffusion of each one, meaning how soft or hard the light is (Adobe's instructions from the beta).
While you move the lights you work on a fast, low-resolution preview. When you press Done, Photoshop generates the result at the photo's full resolution. The layer stays editable: with "Edit Relight Layer" you can go back to the lights later.
Behind it there's a generative model, an AI that "redraws" the image instead of applying a simple filter. According to Adobe Research it was trained on synthetic images of the same scene lit in different ways, and it is distilled into a single step (distilled means a large model "taught" a faster one), so the preview and the final result look alike. Compared with the old Lighting Effects filter, which only added brightness on top of the photo, Relight tries to remove the existing light and put in new light that matches the shapes of the subject.
How many credits does Photoshop Relight use?
Every time you press Done, Photoshop deducts 30 generative credits; experimenting in the preview costs nothing. That's the figure Adobe gave in the beta, confirmed by the first tests from Fstoppers. For comparison, the same article points out that Harmonize, the feature that matches color and light between layers, costs 5 credits.
The honest math is this: if you're used to trying, retrying and comparing ten variations, your credits will run out fast. The practical advice is to get everything right in the preview and confirm only once. You can check your balance from the sparkle icon in the Contextual Task Bar or in the Properties panel. We covered this in general in our comparison AI images locally or online: online is convenient, but every attempt has a price.
Does Photoshop Relight work well on every photo?
No: it works best with a well-defined subject, such as a portrait or an interior, and it works on one layer at a time. In Aaron Nace's test reported by Fstoppers, zooming in to 100% the result looks softer than the original on hair and textures. The suggested trick is to keep the original photo on top, with a blend mode that preserves the detail and takes only the light from the Relight layer, adjusting the strength with opacity instead of generating again.
That's why we see it more as a tool to fix or reinvent the mood of a shot (a warm window light, a colored backlight) than as a replacement for a real lighting setup for high-resolution product photos. If you work with video, the story is similar to Red Giant's Scene Light, the AI relighting that arrived in After Effects, which we covered in our article on Cinema 4D 2027 and AI relighting in After Effects.
Is there a free alternative to Relight in ComfyUI?
Yes, there are at least three, but with different licenses and without the handy lights you drag on the canvas: in ComfyUI you describe the light in words or with a reference image.
- Qwen-Image-Edit-2509-Relight: a LoRA (a small file that specializes a larger model) for Qwen-Image-Edit 2509, under the Apache 2.0 license, so it can be used for work too. You write the kind of light you want, optionally with the Chinese trigger word suggested by the author (Hugging Face page). The base model is large: on a 12 GB graphics card like the RTX 3060 you need a compressed GGUF version and a bit of patience.
- LBM Relighting by Jasper AI: it combines the subject with an image that acts as a lighting reference, in just a few steps. Watch the license: it's CC BY-NC 4.0, meaning non-commercial (official page).
- IC-Light by lllyasviel, with kijai's ComfyUI-IC-Light nodes: the oldest of the three, lightweight, still useful for product photos on new backgrounds.
They're not identical to Relight: they redraw the image and can change details of the subject, while Adobe worked precisely to touch nothing but the light. In return they're free, they run on your PC and you can make a hundred attempts without counting credits. If you're starting from scratch, our beginner's guide to ComfyUI explains how to install models and LoRAs.
Try it now
- Update Photoshop to version 28.0 from the Creative Cloud app.
- Open a portrait with the subject clearly separated from the background; if the photo has several layers, merge them or work on the subject layer.
- Go to Layer > New Relight layer and add a single light: first find the right direction, then the color (a warm orange light from one side almost always works).
- Add the second light as a soft backlight, lowering the intensity and raising the diffusion.
- Only when you're happy with the preview, press Done (30 credits).
- Duplicate the original photo, place it above the Relight layer and try the Color or Luminosity blend modes to recover detail: if the result at 100% is too soft, this saves hair and skin.
If you want to see it in action, here are two useful videos (recorded on the October beta, so with a few minor differences): "NEW Photoshop Relight Tool: Game Changer or Gimmick?" by Anthony Morganti and "The Unreal New Tech That Relights Photos in Photoshop" by Photoshop Training Channel.
Other news
- After Effects and Premiere with the AI Assistant (beta): in After Effects it organizes projects, generates images and video, and writes or fixes expressions. Adobe also previewed a local MCP connection that lets external agents such as Claude and ChatGPT work inside Photoshop, Illustrator, Premiere and After Effects: private beta expected in early 2027 (Adobe press release).
- Premiere: Color Mode leaves beta; Generative Media arrives in the timeline to generate video, sound effects and music with Firefly and with models from Google, Kling, Runway and Luma; Generative Remove is in beta (Adobe blog).
- MiniMax-H3-Image in ComfyUI 0.45.0 (November 10): an open 33-billion-parameter model for images of about 16 megapixels in 6 steps and edits with up to 16 reference images. It's heavy (the lightest file is 12.5 GB, plus the text encoder) and has a "Community" license that requires separate authorization above 1 million dollars in revenue (files for ComfyUI).
Frequently asked questions
Is Photoshop Relight free?
It's included in the Photoshop subscription, but every confirmation uses 30 generative credits. Moving the lights in the preview costs nothing: you only pay for the final results. How many credits you get each month depends on your Creative Cloud plan: check your balance from the sparkle icon before starting a batch of photos.
What's the difference between Relight and the Lighting Effects filter?
Lighting Effects adds brightness on top of the image without understanding what's in the photo. Relight uses a generative model that takes the shape of the subject into account and tries to remove the original light before adding a new one, so the shadows change more believably.
Does Relight work on video too?
No, it's a Photoshop feature for still images. For video, After Effects has Red Giant's Scene Light, while in ComfyUI you can use relighting models frame by frame, with the risk of flicker from one frame to the next.
Can I use images made with Relight for work?
Yes, Photoshop's generative features can be used in commercial projects under the terms of the Adobe subscription. For the ComfyUI alternatives, always check the license: the Relight LoRA for Qwen-Image-Edit is Apache 2.0, while LBM Relighting is for non-commercial use only.
You'll find our guides and free workflows on the tutorial3d.it ComfyUI page and a comparison of the models that run locally in our handbook of AI image models in ComfyUI. If you prefer video, follow us on the YouTube channel @tutorial3d.